

In HTML, it’s the default behavior for forms to redirect to a new page whenever they're submitted. So in order to provide dynamic functionality, React uses a strategy called controlled components.
If you have recently gone through a React course, you probably didn't like this part, because there are a lot of states to manage if you have multiple input fields.
Firstly, you track the state of the input field using the onChange property which calls the useState() function. The input fields are wrapped around a form element.
When the user submits the form, it triggers the onClick or onSubmit property to set the inputs either to an array containing values or objects, depending on the number of input fields.
Then comes validation, which checks whether the user has entered any input. If not, then return an error, prompting the user to enter a valid input.
The logic here is a whole lot of boilerplate. You might be bored just hearing about the process.
What if I tell you that a single library can achieve all of this?
Here is what I’ll cover in this article:
- What is React-Hook-Form?
- How React-Hook-Form Affects Performance
- How to Get User Data
- How to Add Validation to Your Forms
- How to Improve the Front End and User Experience Using Chakra-UI.
What is React-Hook-Form?
React-Hook-Form is a flexible library that takes care of all your validation, state management, and user data – and it's all packed within a size of 25.3 kb (unpacked) and 9.1 kb GZip (changes with versions).
It's simple and straightforward to use, and you have to write minimal code.

One of the features I’m impressed with is its performance. As mentioned in its official site, React-Hook-Form:
“Minimizes the number of re-renders and faster mounting, striving to provide the best user experience.”
How React-Hook-Form Affects Performance
If you have been following the previous versions of the library, the documentation often referenced the ref property to handle state management and validation.
<input type=”password” placeholder=”Password” ref={register} />
In this way, React-Hook-Form adopts a method of uncontrolled input, rather than changing the state every single time. It isolates the selected component and avoids rendering the child components.
This significantly reduces the number of re-renders and boosts the overall performance of the application. (Source)
How to Get User Data from a Form
I have made a Codesandbox for this particular tutorial, so make sure you refer to it in case you get lost.
Here's what you'll need to follow along:
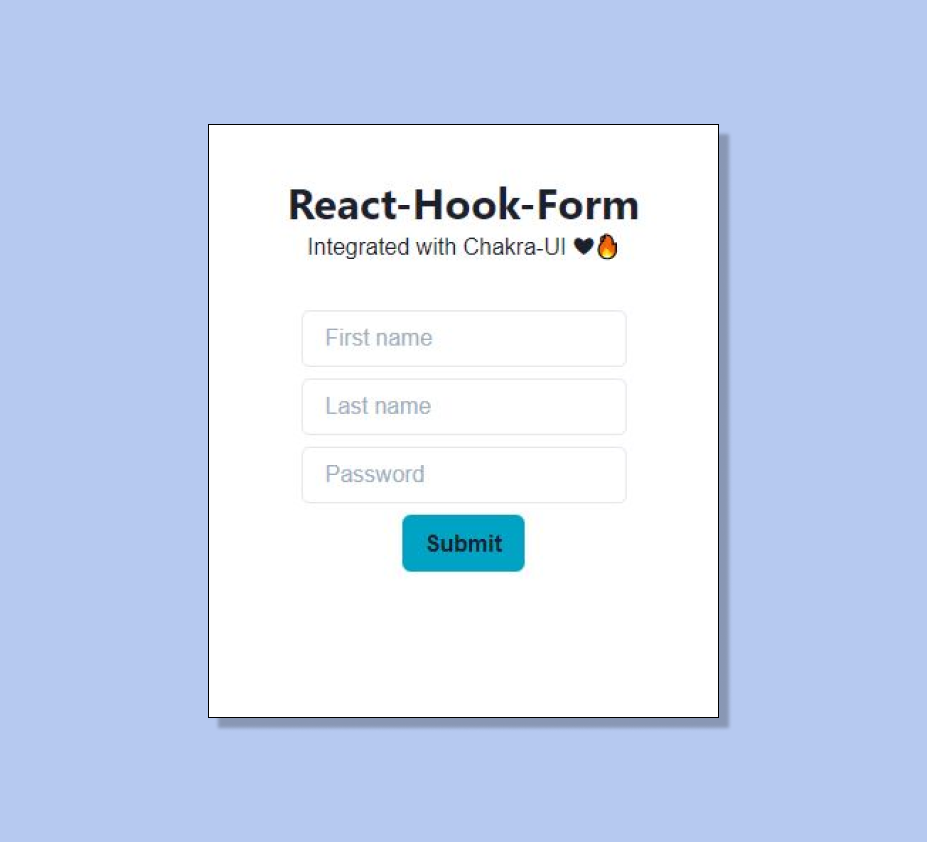
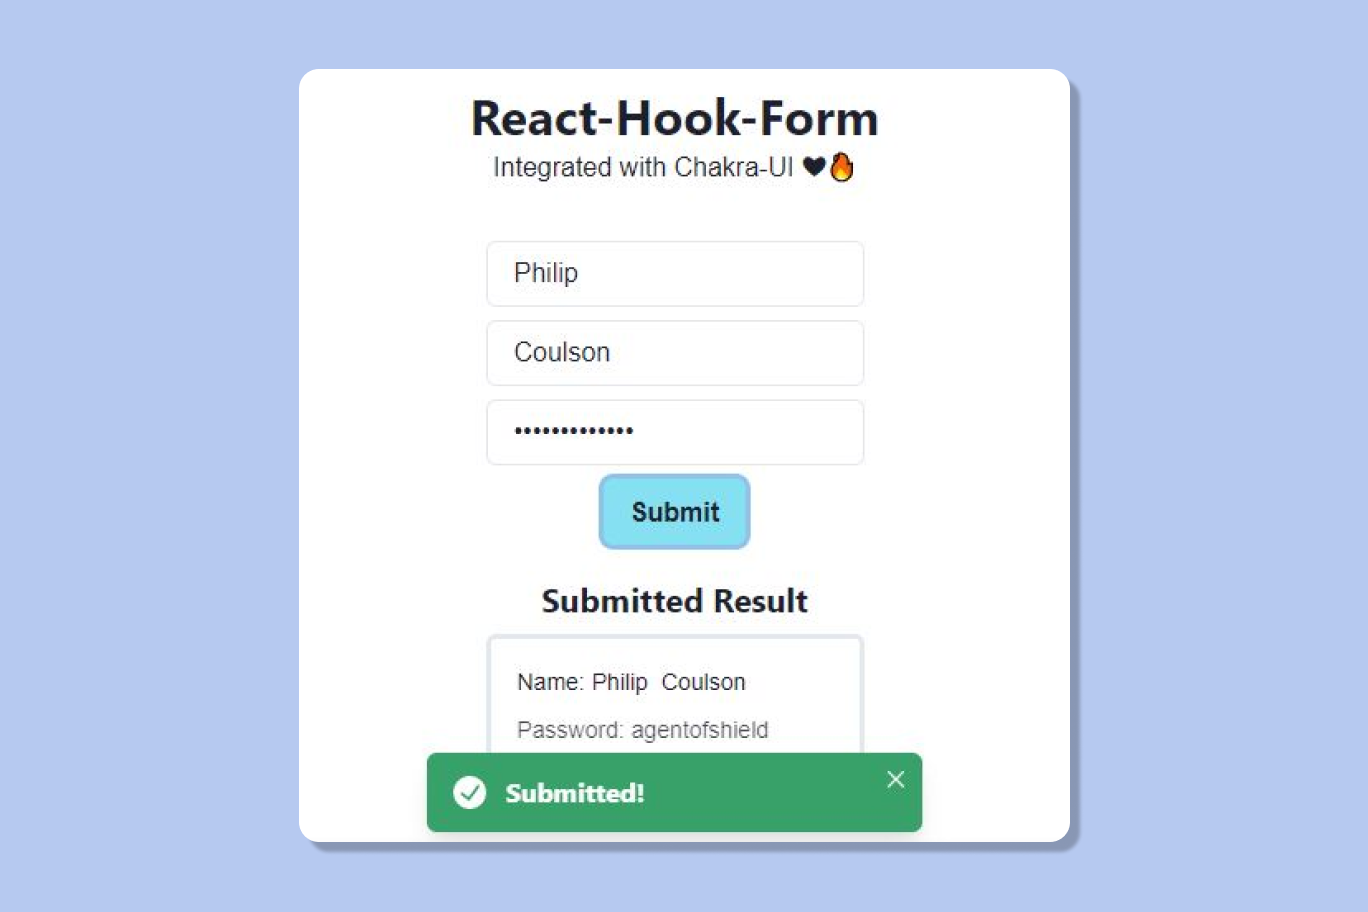
And here’s what we will be building. It's a simple form with validation, alerts when a user submits, and errors that's built using Chakra UI.
First, let's install the library:
npm install react-hook-form
Now import the useForm hook from the package:
import { useForm } from "react-hook-form";
Destructure the following constants from the useForm hook:
const { register, handleSubmit, formState: { errors } } = useForm();
Create a simple form element like this:
<form onSubmit={handleSubmit(onSubmit)}>
	<input type=”text” placeholder=”First Name” {...register(“firstname”)} />
	<input type=”submit” />
</form>
On submit, the form will pass a function onto the handleSubmit function. We can define the onSubmit function like this:
const onSubmit = data => console.log(data);
Now if we test out our form element, when it's submitted the console returns the following:
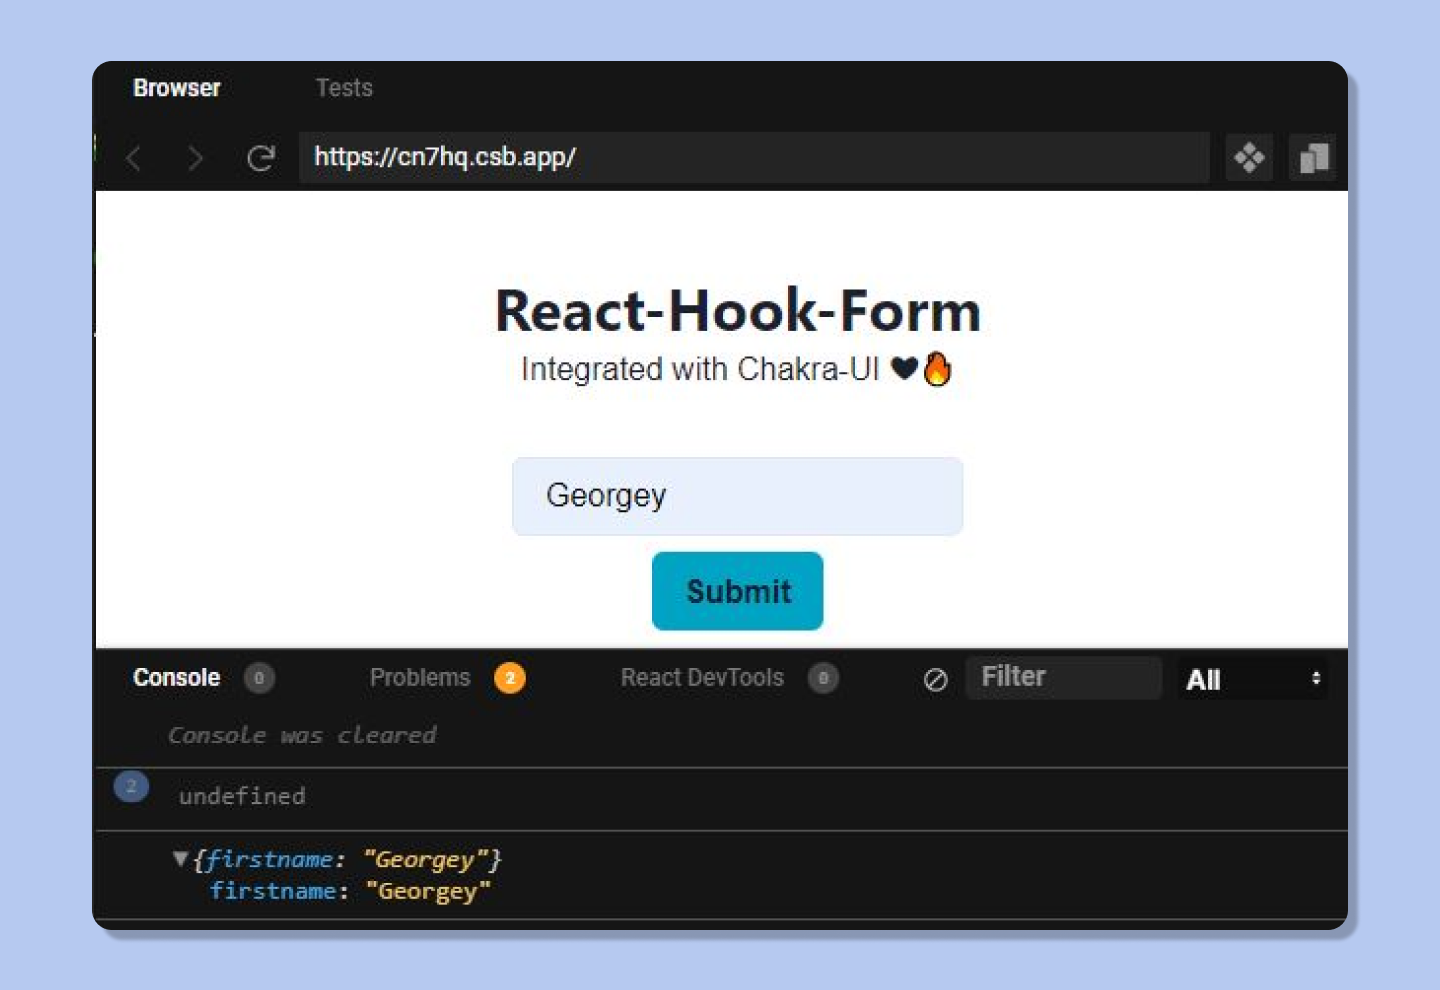
Looks like it returned an object with the property firstname and has successfully gotten ahold of the data in the input field.
Let’s now add a bunch more input fields:
<form onSubmit={handleSubmit(onSubmit)}>
	<input type=”text” placeholder=”First Name” {...register(“firstname”)} />
	<input type=”text” placeholder=”Last Name” {...register(“lastname”)} />
	<input type=”password” placeholder=”Your password” {...register(“password”)} />
	<input type=”submit” />
</form>
On logging the response, we get an object back:
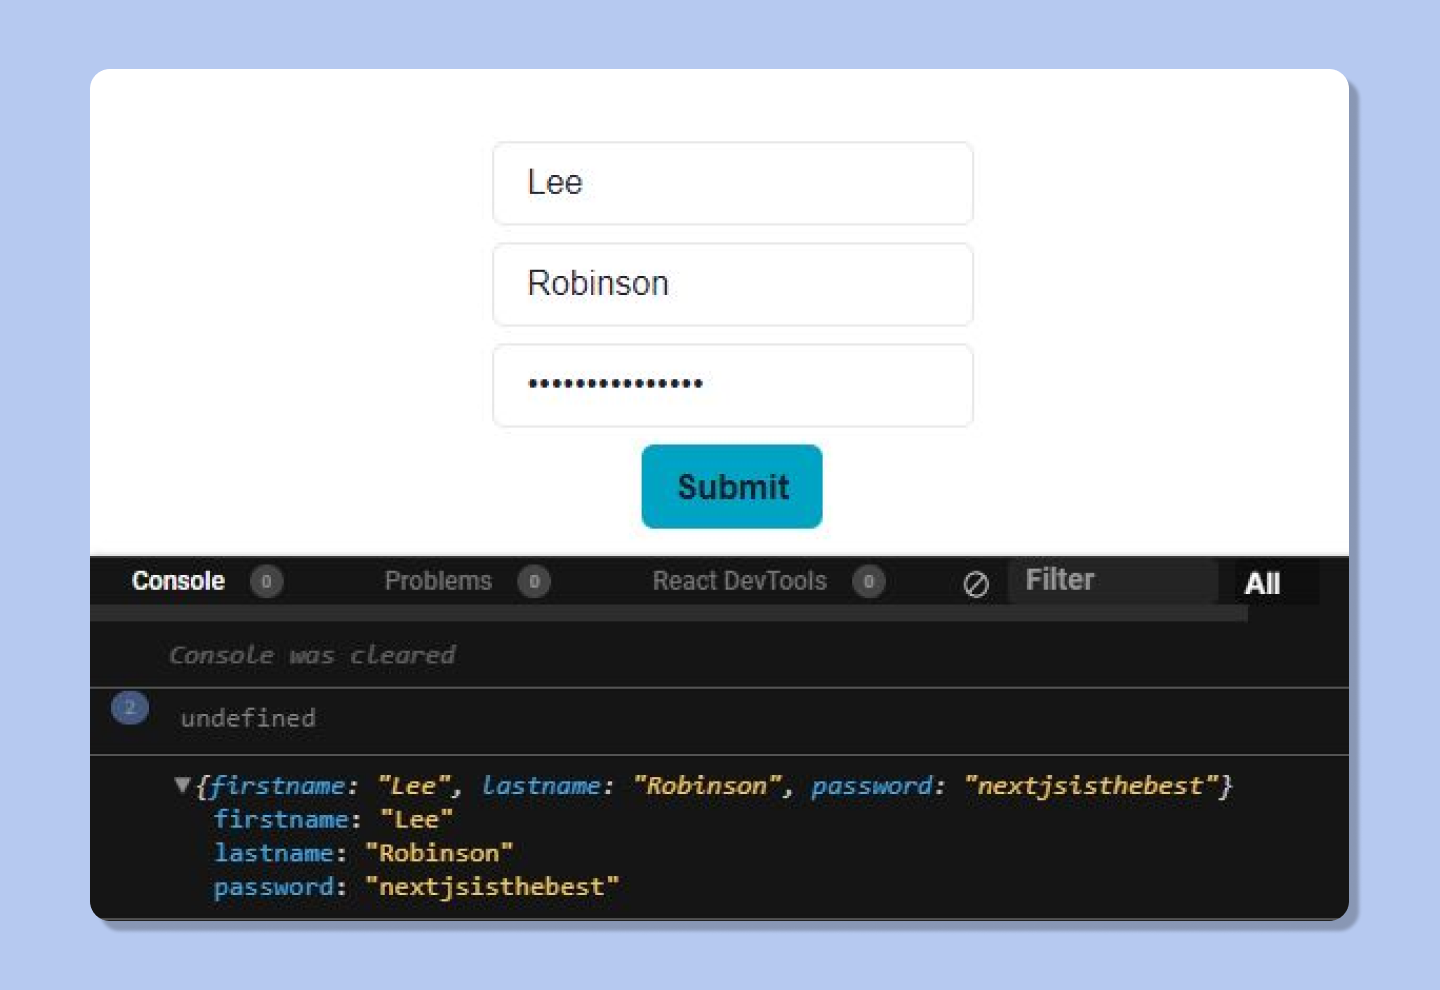
Now, this data can be sent back to the database. But in this tutorial, let’s just display it back to the user, using useState( ).
const [data, setData] = useState();
const onSubmit = (data) => {
   setData(data);
 };
Let’s make a new component called Stats.js. Here, we’ll make use of Chakra UI’s Stat component.
import {
 HStack,
 Stack,
 Stat,
 StatHelpText,
 StatLabel
} from "@chakra-ui/react";
import React from "react";

export default function Stats(props) {
 return (
   <Stat mt={5}>
     <Stack
       p={4}
       borderWidth="3px"
       borderRadius="md"
       direction="column"
       align="flex-start"
     >
       <HStack>
         <StatLabel>Name: {props.Firstname}</StatLabel>
         <StatLabel>{props.Lastname}</StatLabel>
       </HStack>
       <StatHelpText>Password: {props.Password}</StatHelpText>
     </Stack>
   </Stat>
 );
}
Now, import this component into your root file and pass the respective props.
import Stats from "./Stats";
// App.js
{data && (
       <Stats
         Firstname={data.firstname}
         Lastname={data.lastname}
         Password={data.password}
       />
)}
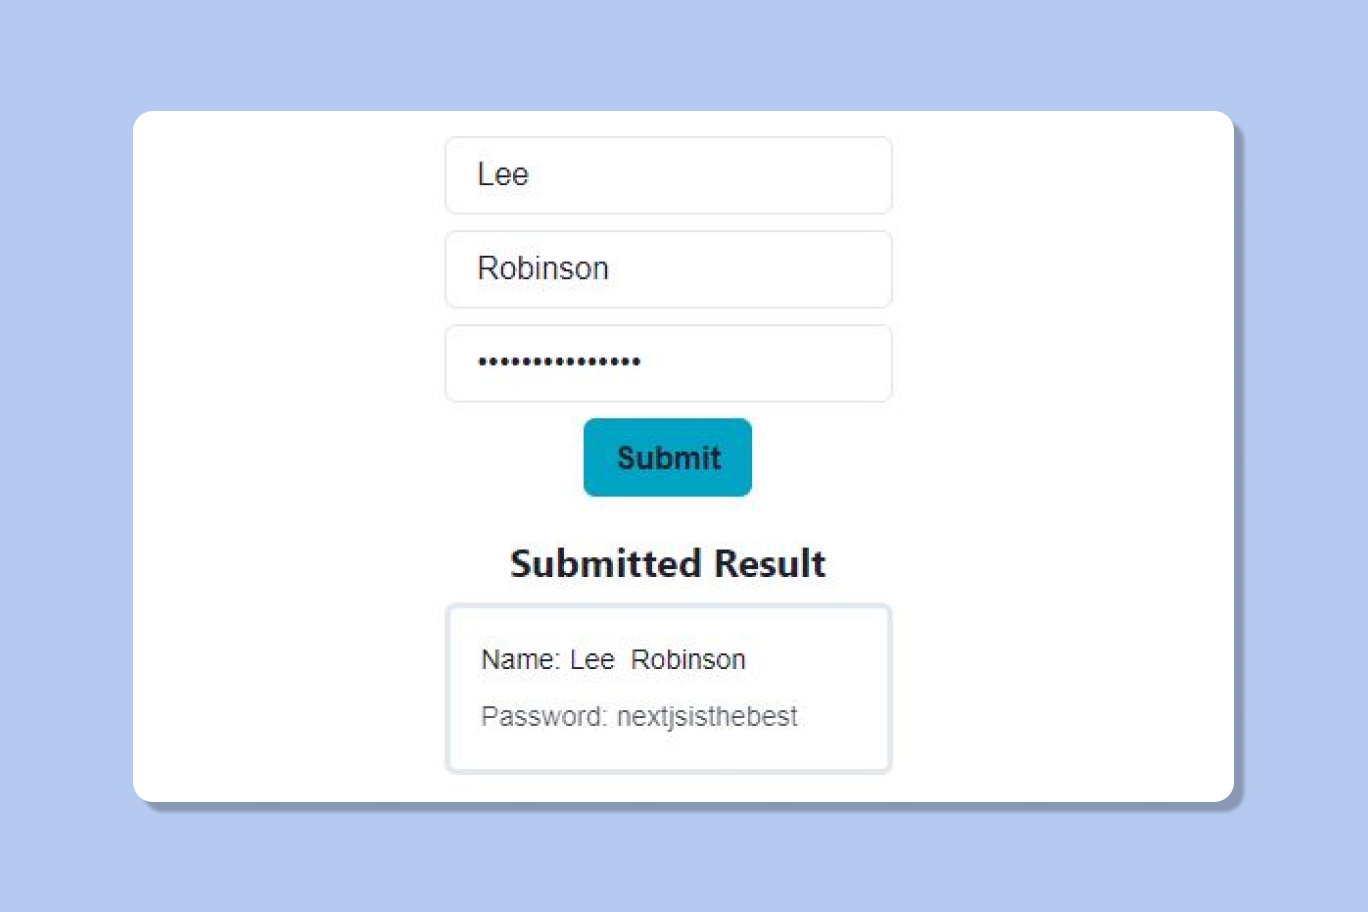
The stats will only be displayed if the data is true.
The final result should look something like this:
How to Add Validation to a Form
Why do we need validation anyways? Let me take you through an example I went through during one of the hackathon projects I was working on.
I had built a Password manager, and I didn’t pay any attention to form validation. Users started entering empty passwords into the form. Eventually, there was a whole load of invalid data in the database.
Now if you visit any popular site, you might have noticed that it forces you to enter a strong password.
Let’s draw some conclusions from this case-study
- We want to get valid data
- We want our user data to be protected by entering strong passwords
- We want to keep the database clean by blocking invalid data
We’ll try to achieve these objectives using client-side validation provided by React-Hook-Form. We will use the register method provided by the library. It allows you to register the data a user enters and apply validation rules to it.
Consider the example below:
<input
      type="text"
      placeholder="First name"
      {...register("firstname", { required: true })}
/>
By setting the rule required to true, the user will be now forced to provide a string to pass the validation. We can further modify this by returning a message back to the user when this event occurs.
<input
      type="text"
      placeholder="First name"
      {...register("firstname", { required: “Please enter your first name” })}
/>
{errors.firstname && <p>{errors.firstname.message}</p>}
If the object errors returns a true value, it will display the message to the user.
Let’s now force the user to provide a password with more than 8 characters.
<Input
      type="password"
      placeholder="Password"
      {...register("password", {
        required: "Please enter Password",
        minLength: { value: 8, message: "Too short" }
      })}
 />
By assigning the minLength property to 8, the user now will be compelled to enter an 8 character password.
Also, we can alert the user at the front-end by using the same method we used previously using And operator.
{errors.password && <p>{errors.password.message}</p>}
If you notice now, React-Hook-Form listens to the changes dynamically. So if the input is left empty, it displays an alert at the same time. If the password is too short, it updates the message dynamically. Beauty!
Now go ahead and make your own form. In the next section we’ll customise the form and send alerts to the user when an error pops up.
How to Improve the Front End and User Experience Using Chakra-UI
First of all let’s convert all the components we've used so far to Chakra UI components.
Instead of the normal <input />, simply replace the existing one with the Input from Chakra UI.
Import { Input } from “@chakra-ui/react”
Now import the VStack and Button component the same way and wrap the whole form with VStack.
<VStack>
         <Input
           type="text"
           placeholder="First name"
           {...register("firstname", {
             required: "Please enter first name",
             minLength: 3,
             maxLength: 80
           })}
         />
         <Input
           type="text"
           placeholder="Last name"
           {...register("lastname", {
             required: "Please enter Last name",
             minLength: 3,
             maxLength: 100
           })}
         />
         <Input
           type="password"
           placeholder="Password"
           {...register("password", {
             required: "Please enter Password",
             minLength: { value: 8, message: "Too short" }
           })}
         />
         <Button
           borderRadius="md"
           bg="cyan.600"
           _hover={{ bg: "cyan.200" }}
           variant="ghost"
           type="submit"
         >
           Submit
         </Button>
</VStack>
The props you see for the Button component are similar to the CSS properties, so migrating to Chakra UI won’t be a problem.
Now let’s give prompt alerts to the user when they enter any invalid data.
Make a new component AlertPop.js.
Import the following code:
import { Alert, AlertIcon, AlertTitle } from "@chakra-ui/react";
Let's define a prop for displaying the error message.
export default function AlertPop (props) {
 return (
   <Alert status="error">
     <AlertIcon />
     <AlertTitle mr={2}>{props.title}</AlertTitle>
   </Alert>
 );
}
Now import this component into the root file, and under every input field type in the below logic:
{errors.firstname && <AlertPop title={errors.firstname.message} />}
{errors.lastname && <AlertPop title={errors.lastname.message} />}
{errors.password && <AlertPop title={errors.password.message} />}
Finally import useToast like this:
import { useToast } from "@chakra-ui/react"
Using this component, we’ll be able to to display a pop-up message when the user successfully submits the form.
Here’s how we will perform this:
Import { useToast } from “@chakra-ui/react”

const toast = useToast( )
const onSubmit = (data) => {
   //console.log(data);
   toast({
     title: "Submitted!",
     status: "success",
     duration: 3000,
     isClosable: true
   });

   setData(data);
 };
The end result should look something like this:
Conclusion
Web technology is advancing every day, at a very fast rate. It’s good to learn to use various libraries, but make sure you understand the basics first.
For example, you just can’t start learning ReactJS all of a sudden without understanding DOM manipulation. The basics are the foundation, else you won’t be able to understand the beauty of how the web works.
Thanks for Reading!✨
It’s good to see that you have read this far. If you did gain some insights from this article, feel free to share it with your community and co-workers.
I talk about web technologies and build projects, further documenting the development process for other developers to reference. If you need any guidance, make sure you hit me up on Twitter.